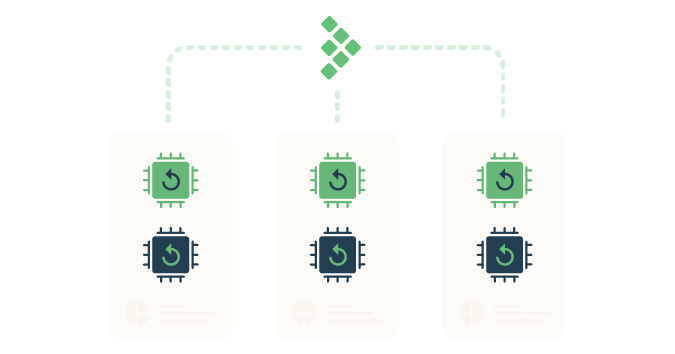
This article is part of a series of blog posts for Streamlining test automation with TestRail, which aim to guide you through centralizing your test automation efforts in TestRail, as per the diagram below.

You can use dozens of different test automation frameworks to automate your test cases and each framework has its own characteristics and can be specialized in one or more types of testing. For this particular workflow, our only requirement is that the framework can generate a JUnit style report that we can use to upload our test results to TestRail. In our example, we’ll be using Pytest, a Python testing framework that makes it easy to write small, readable tests, and can scale to support complex functional testing for applications and libraries.
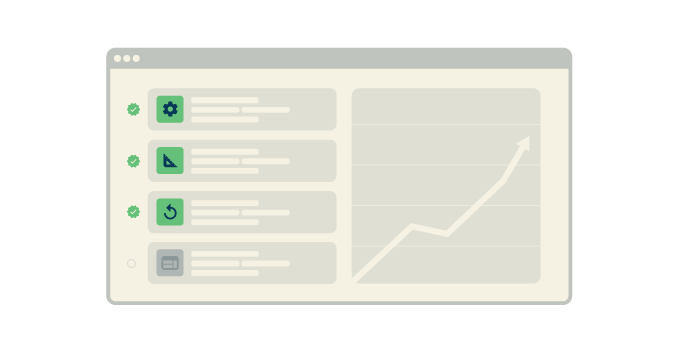
By the end of this article, you should be able to achieve steps 2 and 3 on the diagram, with the caveat of being on your local machine instead of Jenkins, but that is part of the process to achieve our end goal, so let’s keep it simple for now.
Setting up your local environment
To install and run a simple Pytest project, all you need is Python to get started. To install Python on your local machine, we recommend you download the Python 3.10.x distribution that matches your operating system and follow the install wizard instructions. To make sure the install was successful, try executing the commands python --version and pip --version from your command line and they should output their versions.

Installing and running the sample Pytest project
We have a simple sample project you can clone or download from our Automation Frameworks Integration GitHub repository. The test files live in the tests folder and, by opening the test_sum.py file, you can see very simple tests that add numbers and assert the expected result.
import pytest

def test_sum_two_numbers():
    assert 1 + 1 == 2

def test_sum_two_decimals():
    assert 0.8 + 0.3 == 1.2

@pytest.mark.parametrize("test_input,expected", [("3+5", 8), ("2+4", 6)])
def test_sum_multiple_numbers(test_input, expected):
    assert eval(test_input) == expected
To install the project, you simply need to run the command below on your preferred terminal. If you open the requirements.txt file, you’ll notice that the only dependency on this project is actually Pytest, so that’s all you will be installing.
$ pip install -r "requirements.txt"Finally, to run the tests, execute the command below on your terminal and you should see the execution output in real-time, similar to the image below.
$ pytest "./tests"
Final result
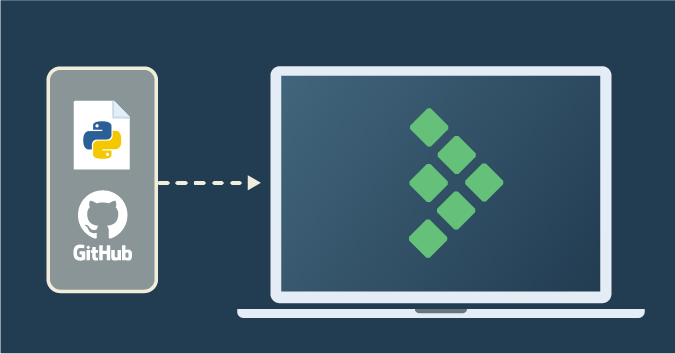
You have just set up and executed your automated tests project on your local machine and you can execute it as often as you wish and customize it to your needs. The image below depicts the workflow you have achieved so far.

There are a few downsides to only running automated tests on your local machine. One of them is that they may become dependent on your own system configuration and the same execution may be difficult to reproduce on a different machine. Another downside is that the results won’t be visible to others in your organization. To circumvent these two pitfalls, you should use a CI tool, such as Jenkins, to orchestrate the execution of your automated tests in a consistent fashion and publish your test results.
To get to know how to configure Jenkins to execute your automated tests, please see the article referring to step 2 in this series of blog posts – Orchestrating an automated tests project with Jenkins as your CI tool.