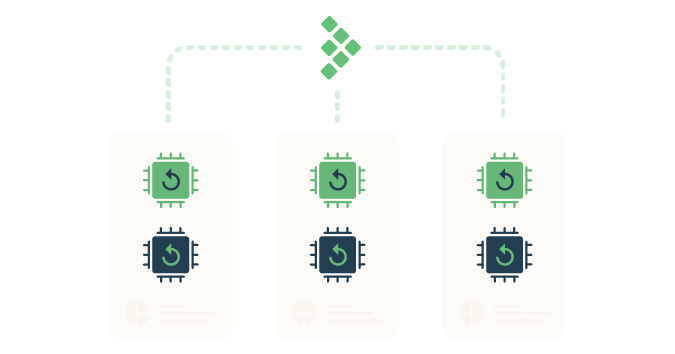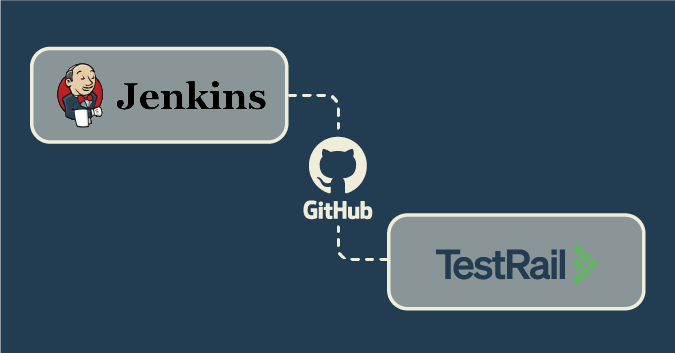
This article is part of a series of blog posts for Streamlining test automation with TestRail, which aim to guide you through centralizing your test automation efforts in TestRail, as per the diagram below.

In this example, we will use Jenkins as a CI tool to fetch and execute the automated tests project. In this article, we’ll explain how to create and configure a Jenkins job to fetch and execute the automated tests project you have been working on, on your local machine so far. In the end, you will achieve the same result you previously had (executing steps 2 and 3 in the image below), except it will be integrated in your CI tool.
Setting up a Jenkins instance
Note: If you already have a Jenkins instance running and an agent running Python 3.10.x, you can skip this section.
In case you want to quickly setup a Jenkins instance to follow the next steps, you can build this custom Jenkins Dockerfile (based on the official Jenkins Docker image) below and run it by following these instructions:
1. Open your command line on the location you saved the file to
2. Execute the commands below
docker build -t jenkins:local
docker run -p 8080:8080 -p 50000:50000 jenkins:local
3. Copy the key on the console and open http://localhost:8080 on your browser
4. Follow the install wizard (you can proceed using all the defaults)
Creating a job in Jenkins
Setting up a job in Jenkins is very straightforward. Just follow these steps:
1. Open your Jenkins instance and click New Item

2. Enter your New Item name, select Freestyle project and click OK

Setting up the Git repository
When creating the job, you can configure the Source Code Management tool you are using. The first action when you trigger the job will be fetching the code. To do so, follow these steps:
1. On the Source Code Management section, start by selecting Git
2. Set the Repository URL (in our example, https://github.com/gurock/automation-frameworks-integration.git)
3. Set the Branch Specifier (in our example, */main)

Configuring the build step
The build steps are where you define what you intend your job to execute. In this case we want to execute our automated tests project and we will use a shell to do so.
1. On the Build section, use the Add build step dropdown to add an Execute shell step

2. On the Execute shell step Command, insert the script with the commands required to setup the environment and execute the tests project

Shell script breakdown
Below is a copy of the script used above and a brief explanation of each section.
# Go to test project folder
cd samples/python/pytest

# Setup virtual environment
python3.10 -m venv ./venv
. ./venv/bin/activate

# Install and run test project
pip install -r requirements.txt
pytest "./tests"
# Go to test project folder
The script starts by navigating to the Pytest sample project base folder which contains the automated tests project we want to execute.
# Setup virtual environment
The script starts by creating a Python virtual environment dedicated to this project, which is a good practice to make sure you start from a consistent baseline. After the virtual environment is created, you need to activate it, which means your shell will use it instead of the global Python installation.
# Install and run test project
After having activated the virtual environment, it simply installs the Pytest tests project and executes it.
Running the job
1. After you have saved the job with the configurations above, it’s time to run it. To do so, you simply hit the Build Now action on the left side panel.

2. After the job is complete you should be able to see the script was executed as expected by peeking at the logs on the Console Output page of the build.

Final result
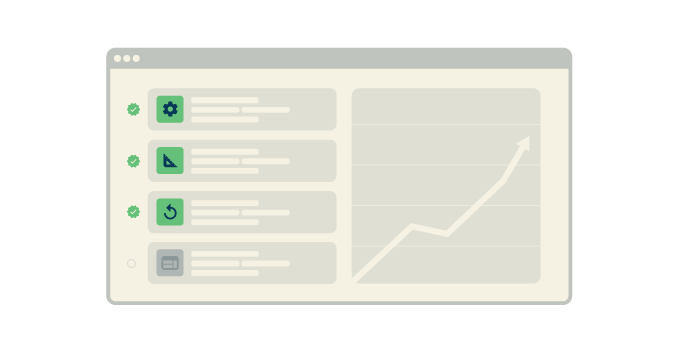
You have just automated the execution of your automated tests project. If this instance of Jenkins is online and accessible to your coworkers, they can now also execute the automated tests suite with the click of a button. Besides this, there are other advantages, such as the tests always running in a controlled and consistent environment, which makes the execution replicable and reduces instability due to environmental changes. Below is a diagram with the pieces you’ve put together so far, representing a fully working automated tests project within a CI tool.

To bring even more visibility and the ability to further analyze and report on your automated test results, you can centralize these results on TestRail, consolidating your manual and automated testing efforts. To learn how to achieve this, please see the article referring to step 3 on this series of blog posts – Sending automated test results to TestRail.